Your first request. A clear next step.
Set up your account, create a ticket and take it through to resolution. Add more only when you need it.
1. Open your workspace
Choose Get started, create your account and complete any email verification shown. Use an organisation name your team will recognise. If you already belong to a workspace, sign in with the email address you use there.
2. Give one request a home
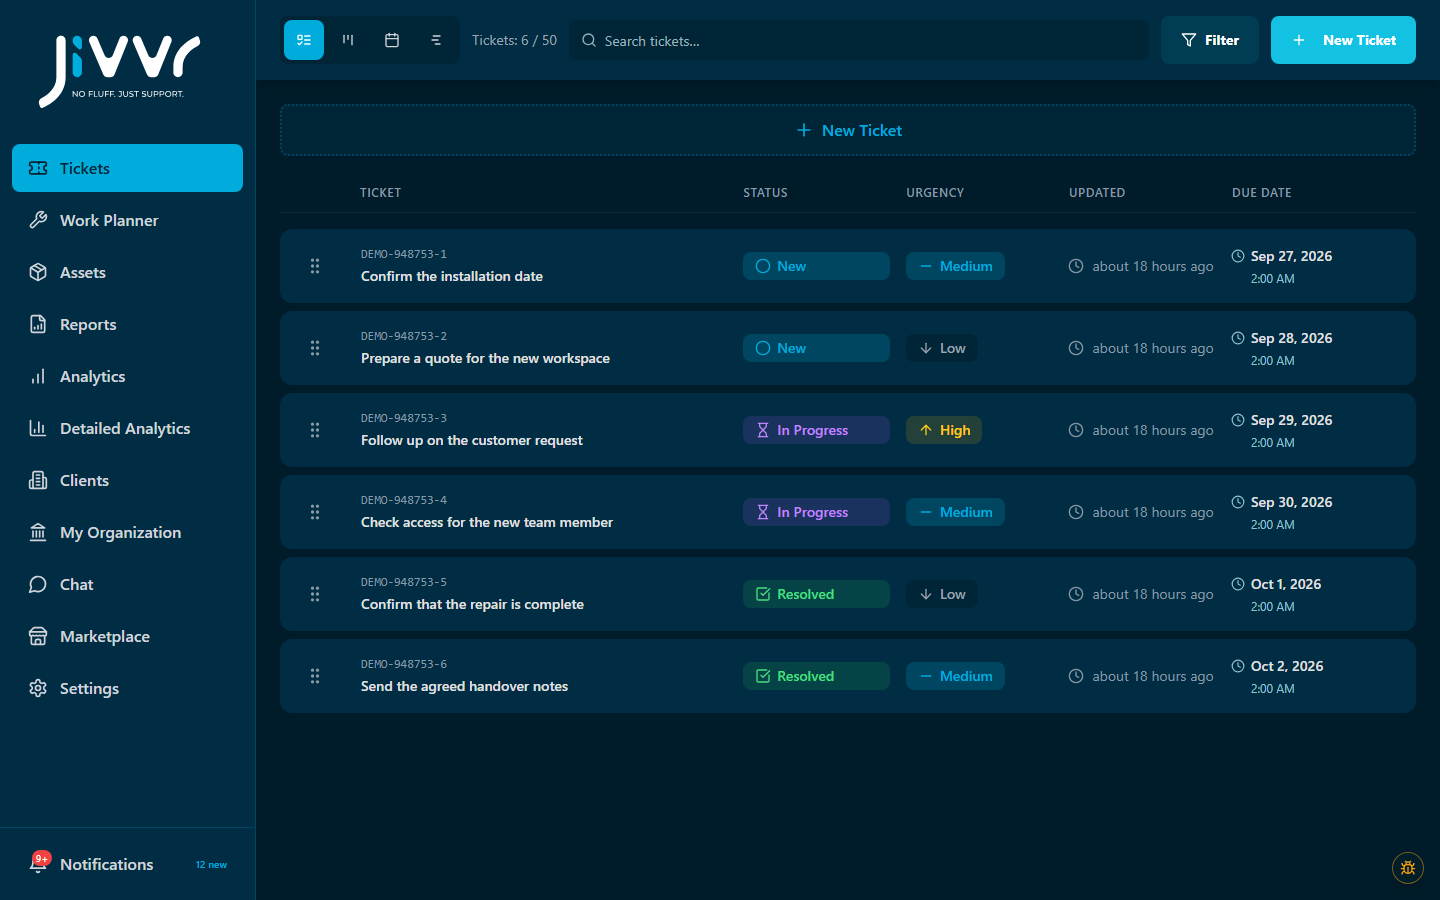
Open Tickets and choose New Ticket. Start with one real request so you can try the complete workflow before setting up anything else.
- Write a title that describes the work: “Confirm the installation date” is more useful than “Question”.
- Add the issue, the context and the outcome you need in the description.
- Choose the appropriate urgency and status. Add an owner and a due date where needed.
- Save the ticket and check that it appears in your list.
3. Keep the next step visible
Open the ticket as the work progresses. Keep its status and owner current, record useful updates and mark it resolved when the request is complete. A resolved ticket and a deleted ticket are different actions; use the status to preserve the work record.
4. Add what the work needs
Start with the ticket core. Team capacity, different views, assets, planning and other capabilities are available through optional add-ons. Check the current price and scope before activation.